
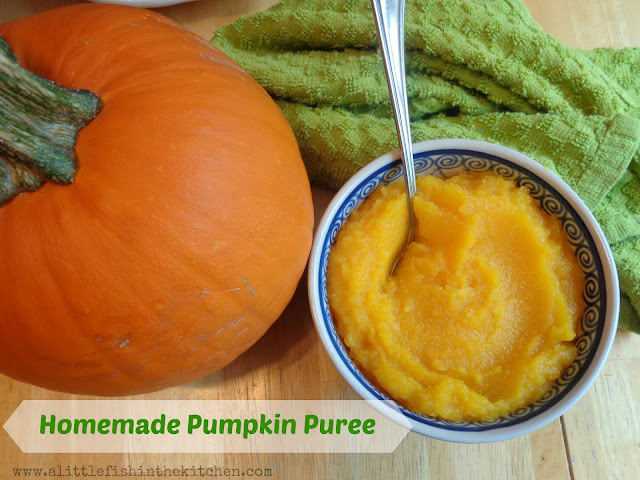
Those adorable, little pie pumpkins that are in the produce section of your grocery store at the moment are for much more than crafting or painting spooky faces on. They are fantastic to cook with, and more importantly, they can be used to make this gorgeous, all-natural pumpkin puree!
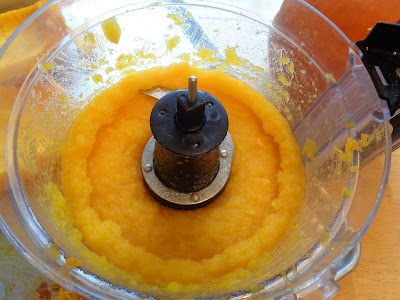
Now, humor me here, and take another look at that picture. Honestly, is that an amazing color or what?! Fresh, pure pumpkin puree is easier to make than you may think and it can be used in any recipe that calls for canned puree.
Now, let’s not misunderstand each other here. I’m a busy, working mom. And, if you know me, you also know that I’m not opposed to helpful shortcuts in any form. So, yes, I’ll still use the canned stuff too. And, to be perfectly honest, it wasn’t very long ago that I made my own pumpkin puree for the first time.
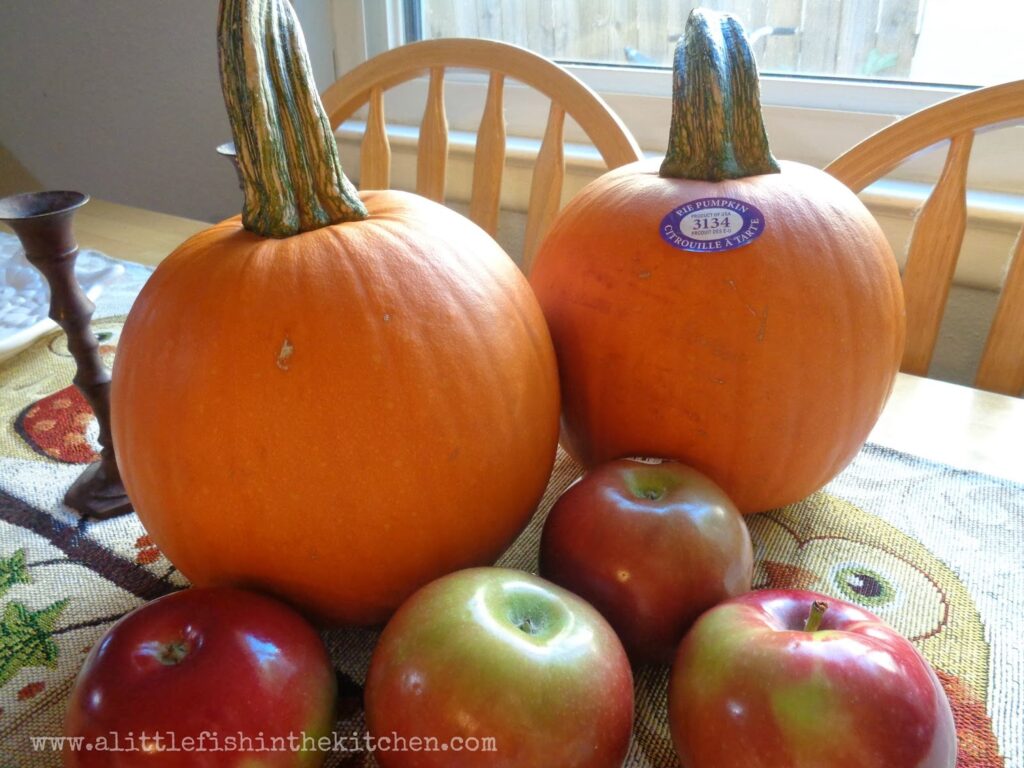
Just two short years ago, I was blessed to become a full-time, stay-at-home mom. One day while I was out shopping, and just out of curiosity, I bought two pie pumpkins. After days of researching the possibilities, I decided to experiment and make my first batch of pumpkin puree. I managed to do it all in one morning while my daughter, who was an infant at the time, was down for a nap!
Once it was all said and done, I made pumpkin pies with it. Those pies were, plain and simple, the best pumpkin pies I’ve ever made! After the success with those delicious pies, I went on to use fresh pumpkin puree to make breads and pumpkin butter.

So, now that the seasonal, fall products, including these petite goodies, are out in stores, I’m planning ahead and making a huge batch of this dreamy stuff. I’m making sure I can make more of those pies for our Thanksgiving feast!
Homemade pumpkin puree stores well in the refrigerator for up to one week, and can be frozen for up to three months.
If you try it, I truly believe you really will taste a difference! xo -M
How to make homemade pumpkin puree
🟤Full picture tutorial begins here! Printable recipe is at the bottom of this post. Special equipment needed: sharp chef’s knife or cleaver, clean hand towel, metal ice cream scoop, food processor, or a potato masher.
** equipment needed: sharp chef’s knife or cleaver, clean hand towel, metal ice cream scoop, food processor or blender
Ingredients for homemade pumpkin puree
- 1 three-pound pie pumpkin
- canola oil or other cooking spray
- a cup or two of room temperature water, set aside
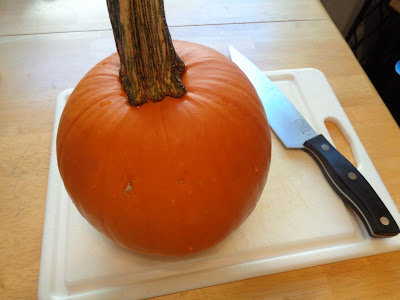
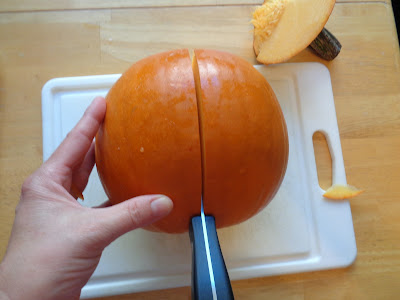
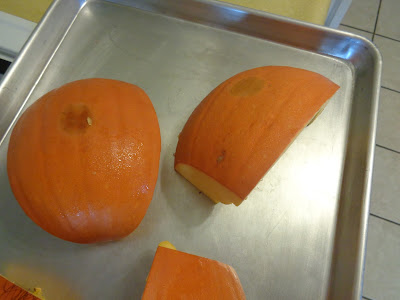
1. Pre-heat your oven to 400°. Carefully remove the top of the pie pumpkin. I always use a sharp chef’s knife, and work in a slow, rotating, slicing motion. (Take it slow, keep a hand towel nearby, and use a firm grip. The pumpkin flesh can be a bit tough to slice.)

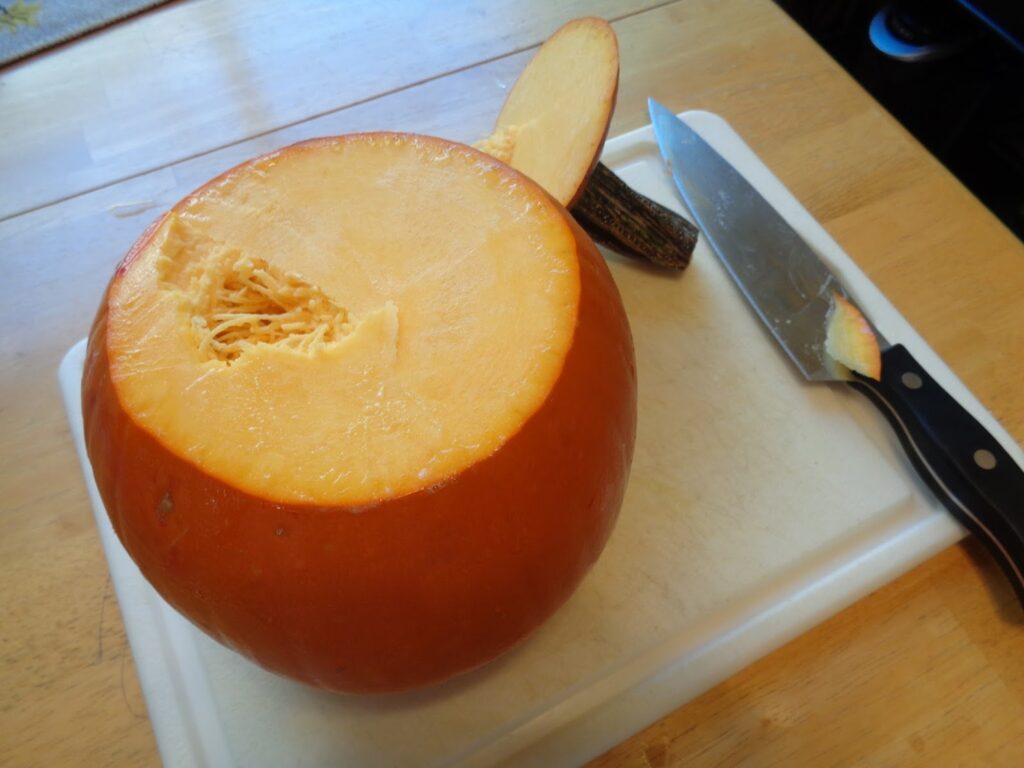
2. Place the flat side down on the cutting board. Cut the pumpkin in half. Push the point of the knife into the center of the pumpkin. Put pressure on the knife handle with your palm and cut one side of the pumpkin in a downward motion. Turn pumpkin and repeat maneuver on the other side.

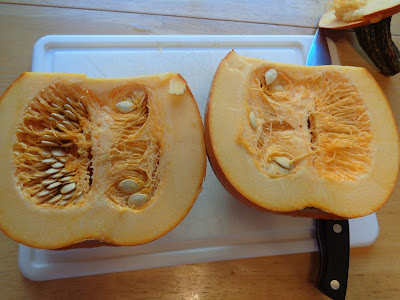
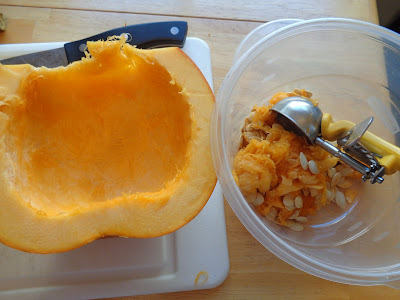
3. Scoop out the stringy innards. I find using a metal ice cream scoop to remove pulp and seeds works the best. Set the pulp aside if you are going to use the seeds or discard it if you aren’t.
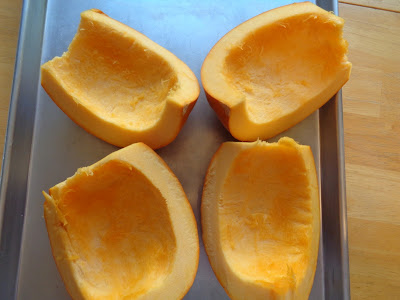
4. Cut the seeded pumpkin into quarters and lightly coat the fleshy side with cooking spray. Place, flesh side down, onto a baking sheet and roast for about 25 minutes.
5. At the 25 minute mark, add 1/3 cup of water to the baking sheet. Put back in the oven and continue roasting for another 30 minutes or until the pumpkin flesh is fork-tender.


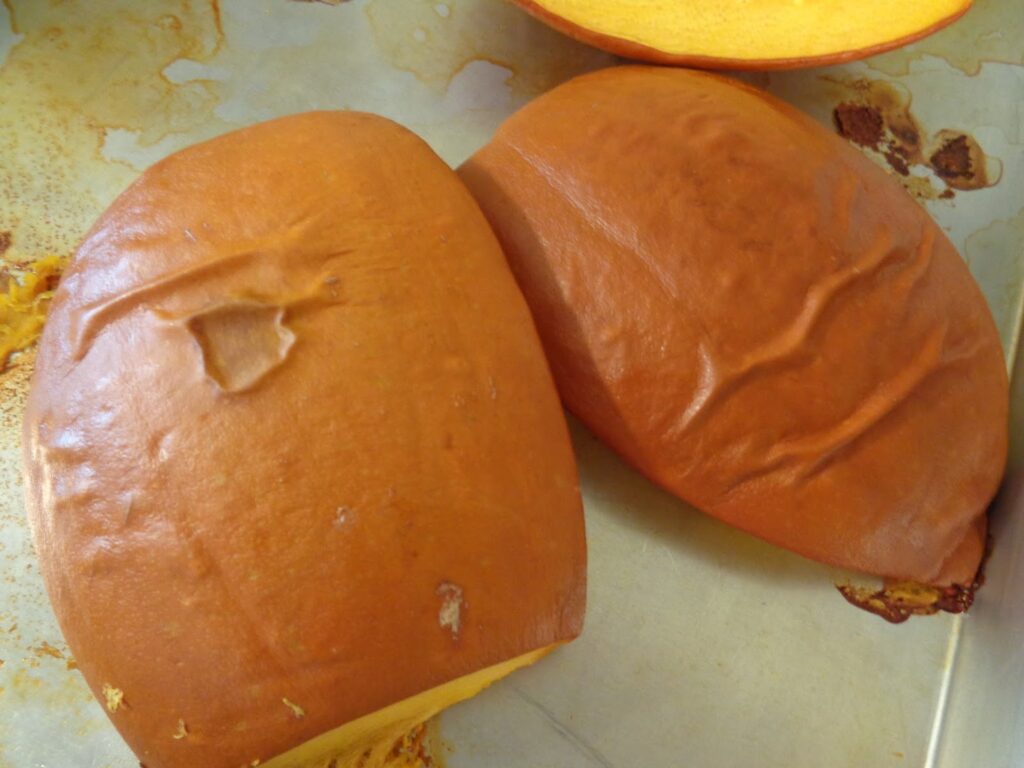
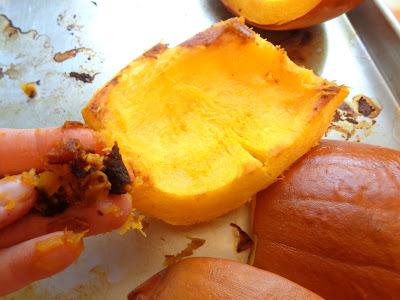
6. Allow the pumpkin to cool completely. Remove the skins and any bits that may be charred or blackened from roasting.
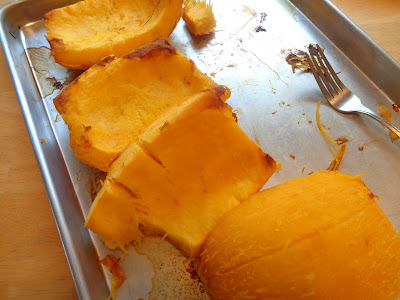
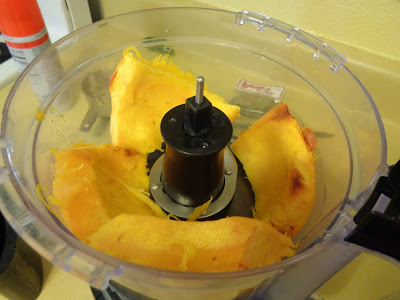
7. Working with two quarters of roasted pumpkin at a time, break it into smaller chunks and place in your food processor. Add 1/3 cup of water and process for 15 -30 seconds or until smooth. If you prefer a thinner puree, add more water, one tablespoon at a time, and pulse ingredients to combine.
Get ready for the possibilities now that you can make your own pumpkin puree!
More fall recipes are coming up! Be sure to check our my Fall Favorites recipe category, I’ve shared lots of pumpkin recipes to make and enjoy!
Save this recipe on Pinterest!
Enter your email address below to have all of my newest posts sent straight to your inbox! It’s a free service…never miss a recipe or an update, subscribe now!
🟠 Blog post and picture tutorial were originally published on September 28, 2015. Blog post and tutorial instructions were clarified and updated with a tutorial video on November 20, 2025

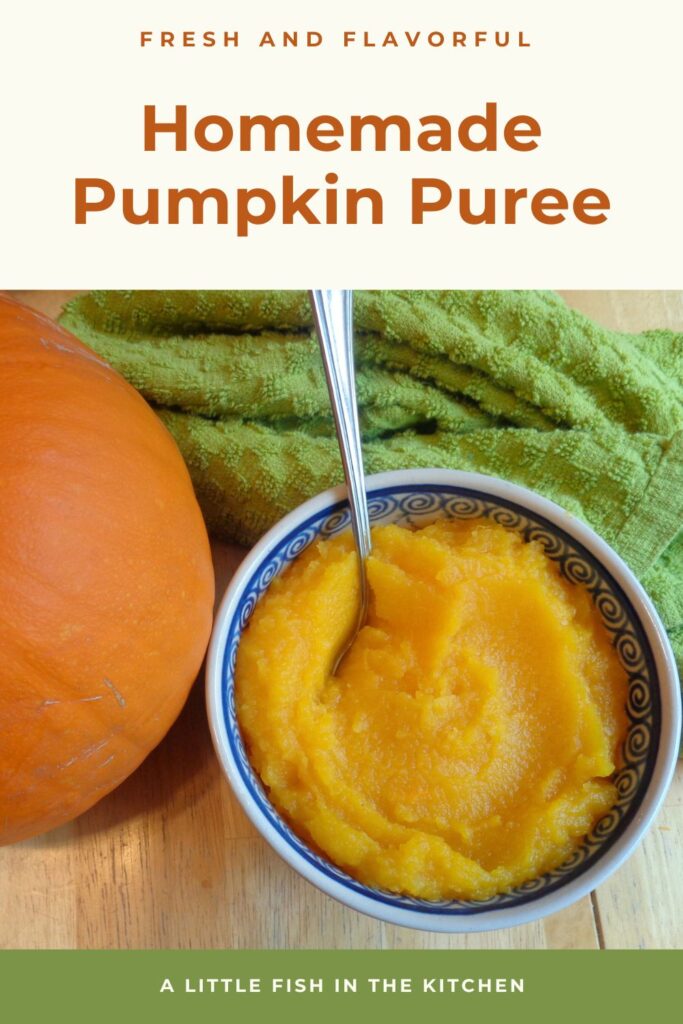
How to Make Homemade Pumpkin Puree
It’s easier than you may think to make a batch of Homemade Pumpkin Puree! You will definitely taste the difference in your fall and winter baking when using fragrant, fresh-roasted pumpkin. This recipe will yield roughly two cups of fresh pumpkin puree.
20
minutes50
minutes2
cupsKeep the screen of your device on
Ingredients
1 three-pound pie pumpkin
canola oil or other cooking spray
a cup or two of room temperature water, set aside
Directions
- Pre-heat your oven to 400°. Carefully remove the top of the pie pumpkin. I always use a sharp chef’s knife, and work in a slow, rotating, slicing motion. (Take it slow, keep a hand towel nearby, and use a firm grip. The pumpkin flesh can be a bit tough to slice.)
- Next, cut the pumpkin in half. Scoop out the stringy innards. I find using a metal ice cream scoop to remove pulp and seeds works the best. Set the pulp aside if you are going to use the seeds or discard it if you aren’t.
- Cut the seeded pumpkin halves into quarters and lightly coat the fleshy side with cooking spray or cooking oil. Place flesh side down, onto a lightly greased baking sheet and roast for 25 minutes.
- At the 25-minute mark, add 1/3 cup of water right onto the baking sheet. Flip the pumpkin onto its other side (use tongs) and place it back in the oven. Continue roasting the pumpkin for another 30 minutes or until the pumpkin flesh is soft and fork-tender.
- Allow the roasted pumpkin to cool completely on a rack. Once it’s cool enough to comfortably handle, remove the skins and any bits that may be charred or blackened from roasting.
- Working with two quarters of roasted pumpkin at a time, break it into smaller chunks and place in your food processor. Add 1/3 cup of water and process for 15 -30 seconds or until smooth. If you prefer a thinner puree, add more water, one tablespoon at a time, and pulse ingredients to combine.
- Refrigerate the homemade pumpkin puree in an air tight container for up to 7 days, or freeze in a freezer-safe container for up to 3 months. Enjoy!
Recipe Video
Notes
- I often transfer the freshly roasted pumpkin to a separate plate to help it begin to cool down faster.
- Recipe as published on A Little Fish in the Kitchen at www.alittlefishinthekitchen.com. All content is owned by Marcelle G. Bolton. Please contact the author for permission to republish.
Like this recipe?
Follow @ALittleFishintheKitchen on Pinterest
Join our Facebook Page!
Follow A Little Fish in the Kitchen on Facebook

It really is fun and I feel so accomplished when I'm done! Thanks for the comment.
I look forward to it every season, David! 🙂
What a fun post! I often use canned pumpkin, but making your own puree is so much more fun, isn't it? And certainly tastes much better. Good post — thanks so much.
Someone gave me some "pie pumpkins" last year and I ended up with a very liquid mess. I don't think they were really pie pumpkins! I have made purée since and had much better luck; from here on in I buy the ones that definitely say pie pumpkin! And you are so right, the taste of a pumpkin pie with fresh pumpkin is the best!
Hello Beth! Making homemade puree has become a true seasonal addiction for me 🙂 Thank you very much for stopping by!
I've always used pumpkin from a tin, but I'll bet you're right – homemade puree would be fantastic!